How to repair a 25 year old tent
07 Jun 2017About a week ago I borrowed a tent from my parents because I had the plan to do a short bicycle tour to the Baltic Sea this week. The weather was really nice this weekend so I decided to try out the tent, which is a Ferrino Makalu III, at least according to the bag in which it came. (All images I could find of it on the web look different. But it is quite similar to the Frilufts Barry 3.)
When I arrived at the campsite and erected the tent I quite soon found out that the seam-sealing tape on the inside of the outer tent had come off almost everywhere. Naturally the tent was also completely soaked the next morning due to all the dew, so I figured I had to reseal the seams and waterproof the tent. So here are some instructions.
How to seal the seams
Step 1: Buy some stuff
If you have a polyurethane coated tent, you will need the following:
- One or two tubes of McNett SeamGrip (specialized outdoor store). I figured 28ml are enough for roughly 8 meters of seam.
- ca. 50ml isopropyl alcohol in a 70% solution (pharmacy, drugstore)
- ca. 20g talcum powder (pharmacy)
- A rug
- Couple of rubber gloves
Concerning Silicon/Nylon tents, I have no clue, sorry! Anyway, all of this cost me around 30€. Less than a new tent, but still not too cheap. I hope it will be worth the effort.
Step 2: Prepare!

I can’t really seal all of the tent at once in my small room, so I had to do this a couple of times: Open - the - windows. The stuff in the tube stinks. And be prepared to leave the windows open for two hours at least. It takes around eight hours before the seams are completely dry again.
Step 3: Clean the seams
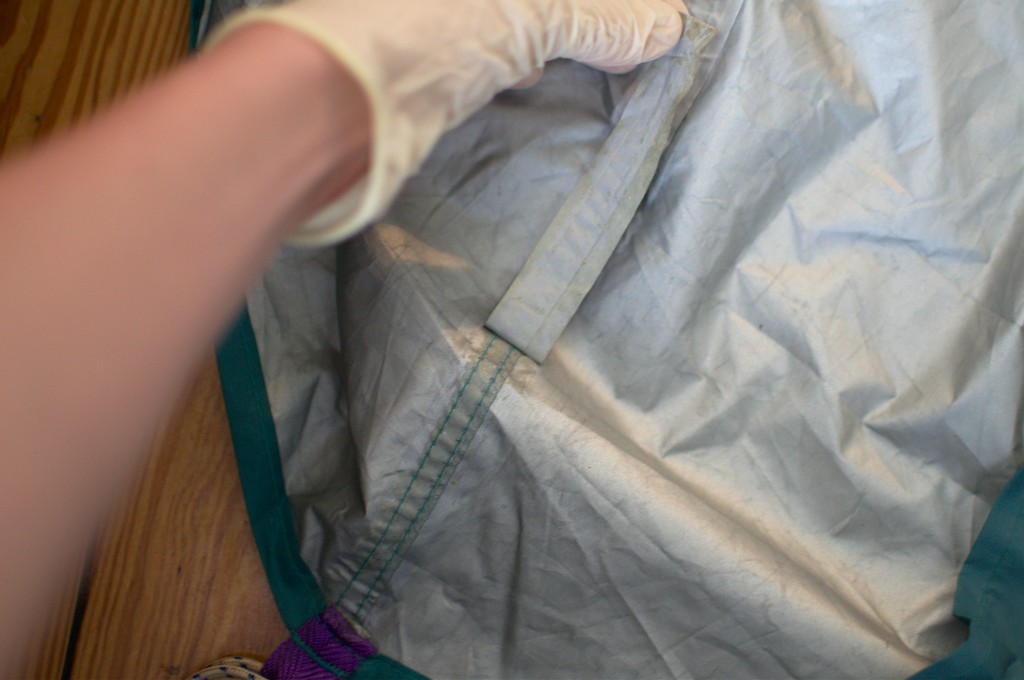
Lay out the portion of your tent which you want to seal on an even surface, and remove the “sealing” tape where it hasn’t come off already.
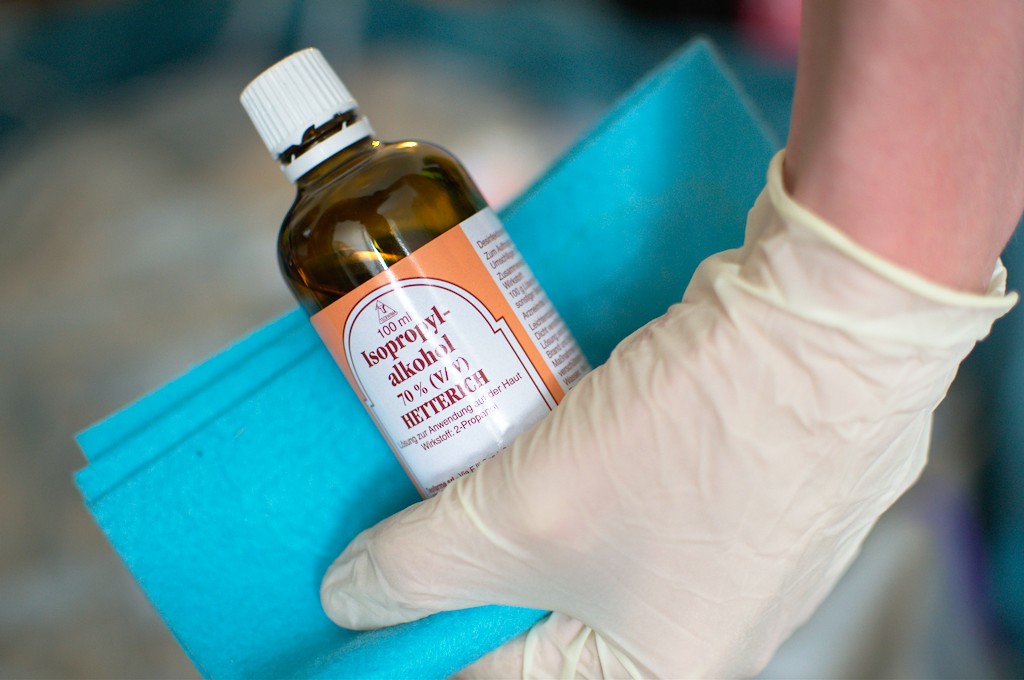
Put on the rubber gloves now. Then make sure the seams are clean, soak a part of the rug in isopropyl alcohol and rub it into the seams which you are about to seal.
Step 4: Apply the sealing gel
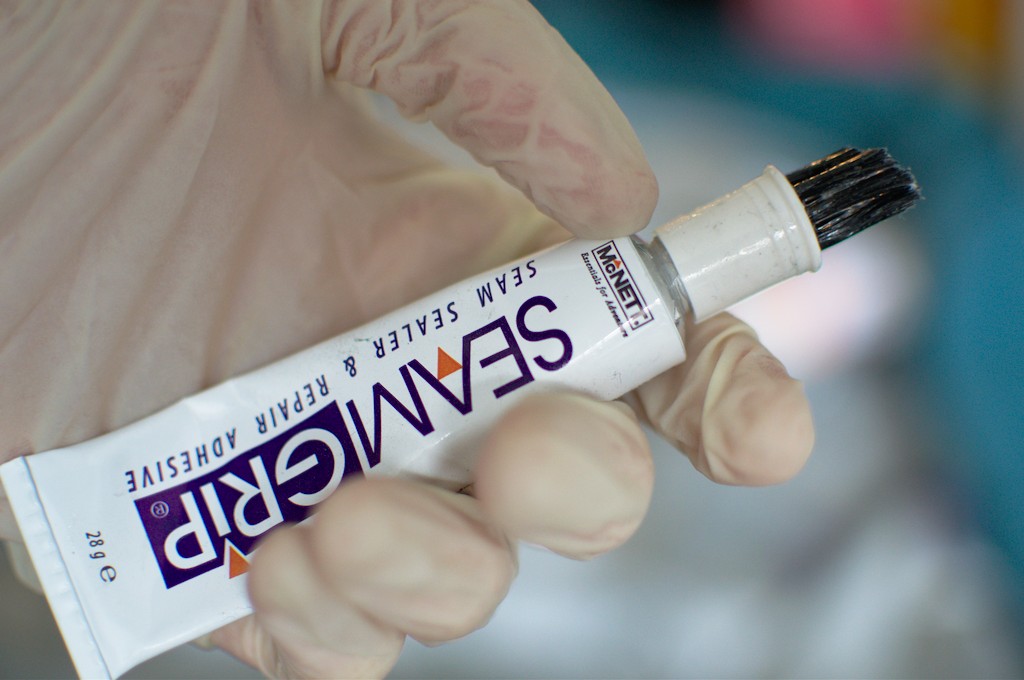
The gel comes in a tube with an optional brush applicator. Use the applicator if you are going to spend all of the tube at once. Otherwise, I figured it was a pretty bad idea. The applictor has a tiny hole inside which is supposed to let the gel through - which will be sealed, i.e. useless overnight. Just use the tube directly and then spread the gel using the brush.
Apply the gel to roughly the same area as the tape had before.
Step 5: Go do something else for the next 8 hours
Preferably outside of the room in which the tent is drying.
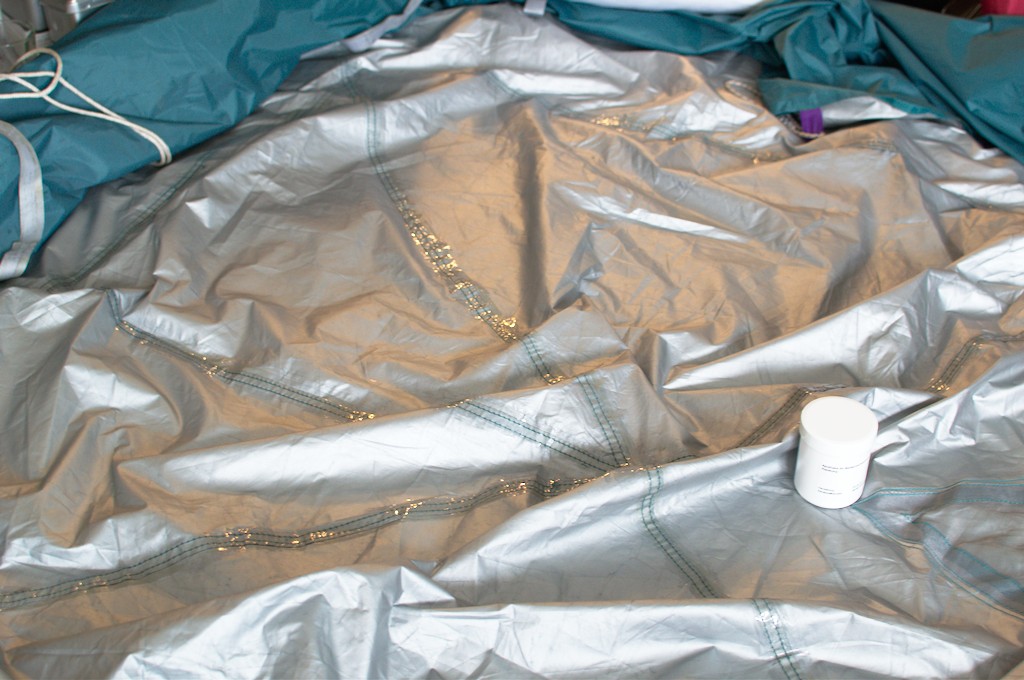
As you can see in the picture, the seams are shiny after using the gel.
Step 6: Put the white powder to good use
When the seams are dry (you can find out with a careful touch whether it is still sticky), use the talcum powder. Now be aware that this stuff can give you cancer, so the best idea is not to inhale it. The talcum is necessary so the sealed seams won’t stick to each other when you fold the tent. Apply small amounts to the sealed seams with your finger, and they will be rendered matte and not stick to each other any longer. If you spilled the powder, use a wet rug to clean it. Shaking it off is probably not the best idea.
How to waterproof the tent
I haven’t done this yet, but according to the packaging of the waterproofing spray it is as easy as erecting the tent on a dry day and spraying it. Maybe a rug to spread the liquid could come in handy.